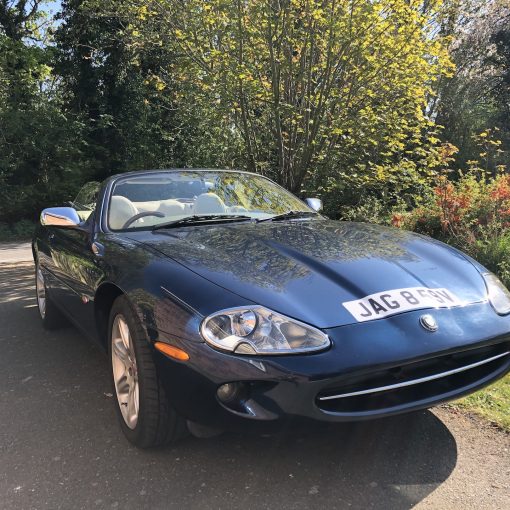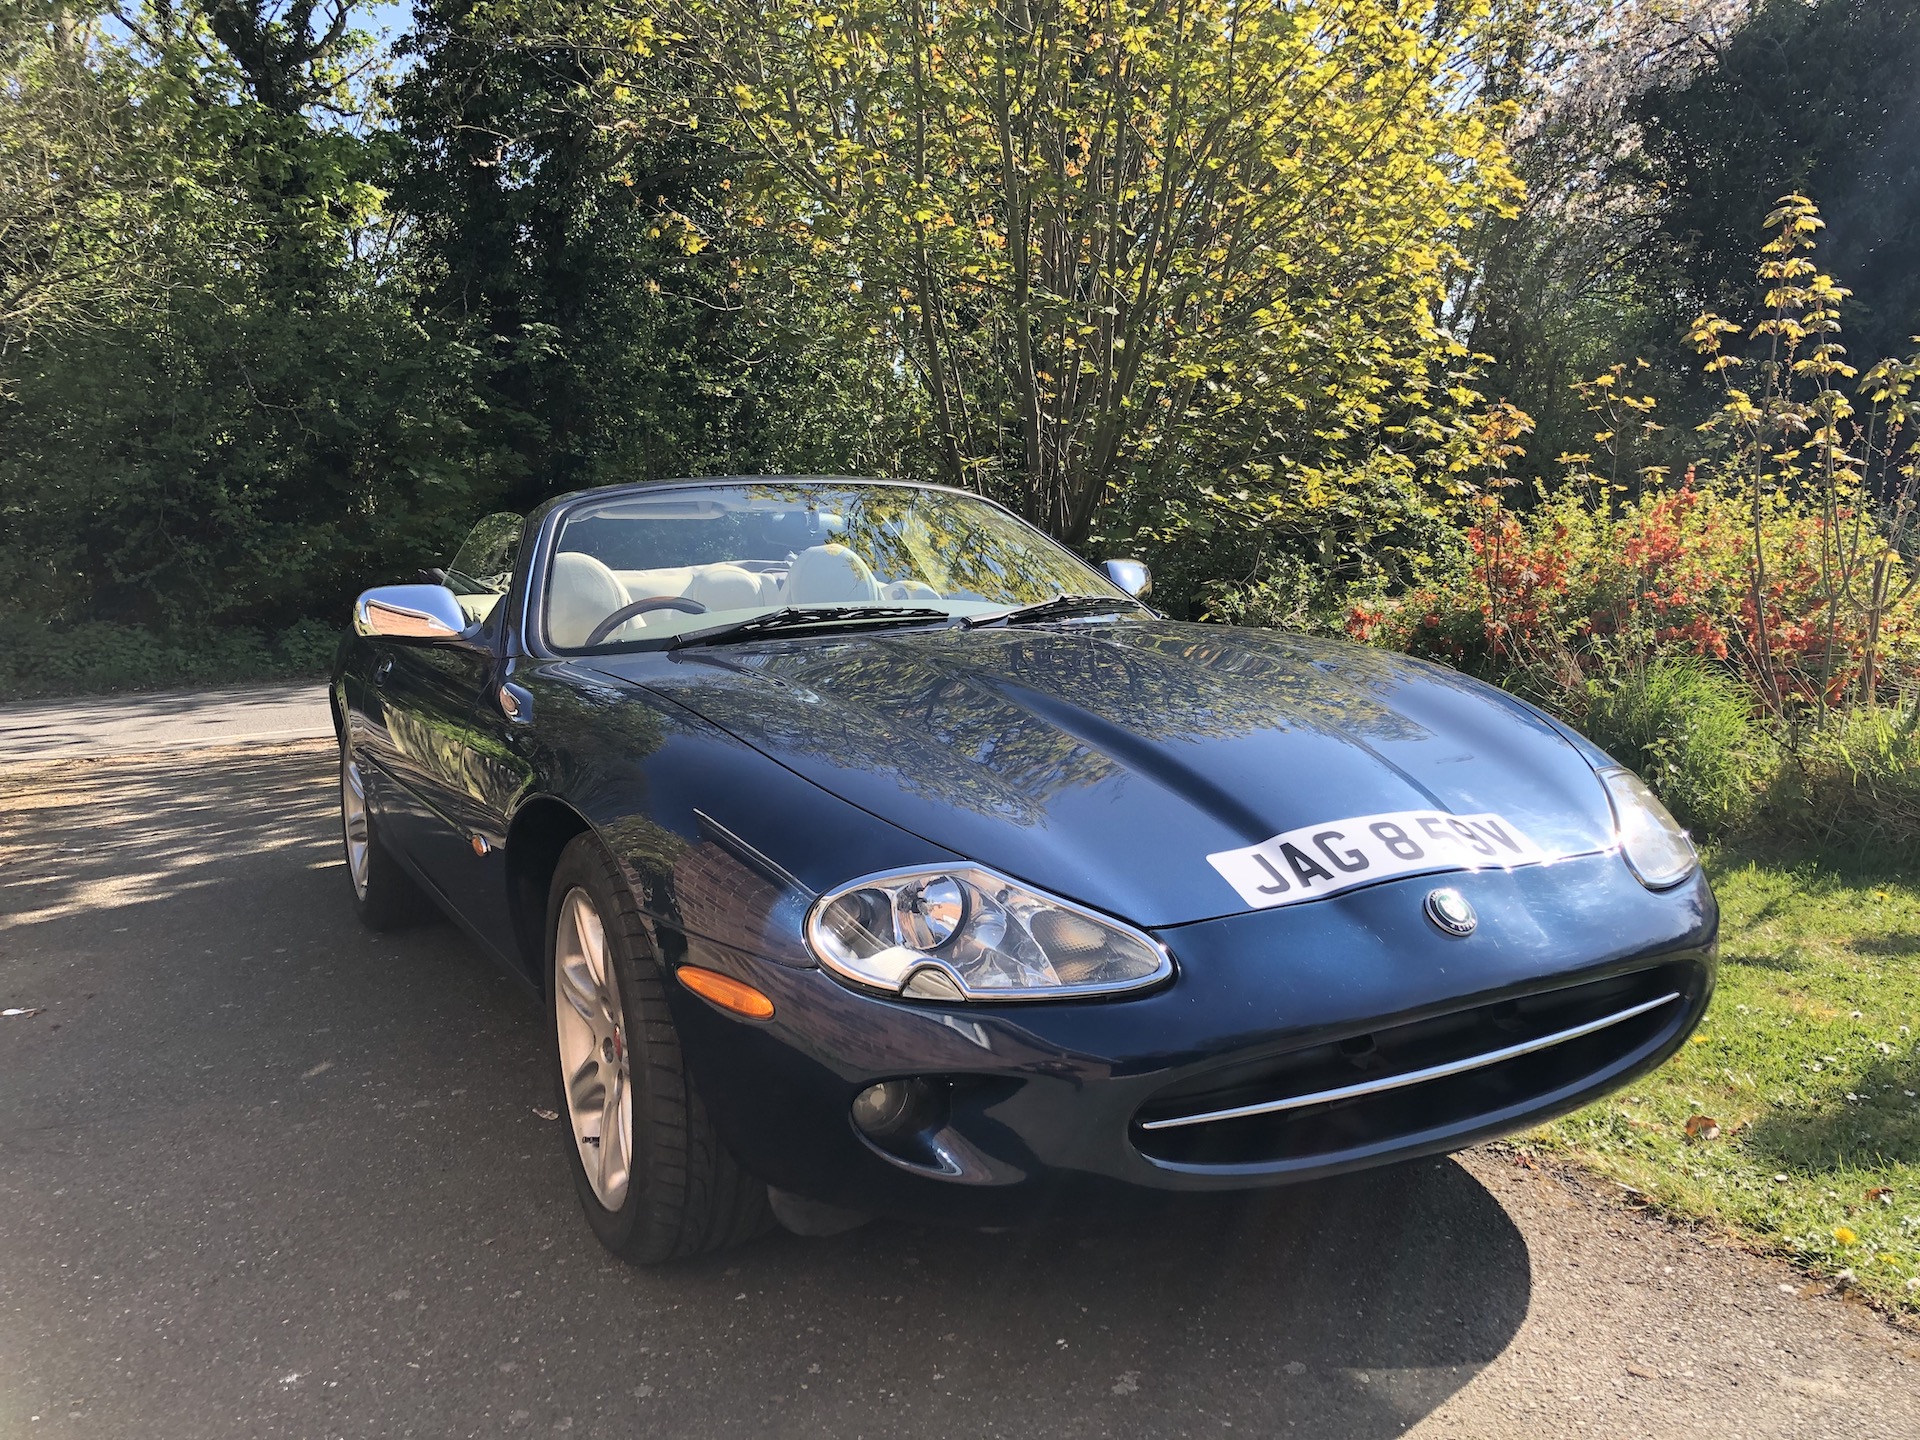
After changing the rear discs on my XK8 I thought I may as well do the front discs. It couldn’t be any harder, right? Wrong.
Again, the first challenge, after getting the discs and painting the rim areas where the pads don’t touch to keep them from going rusty, was to get the wheels off.
It must have been years since the wheels last came off as they were well and truly stuck. Plus, the nuts had been done up by a gorilla. Again, the answer was a long pry bar but, unfortunately, I tried this from the front. After a few attempts, the pry bar slipped and it was goodbye to the ABS wire and earth wire. 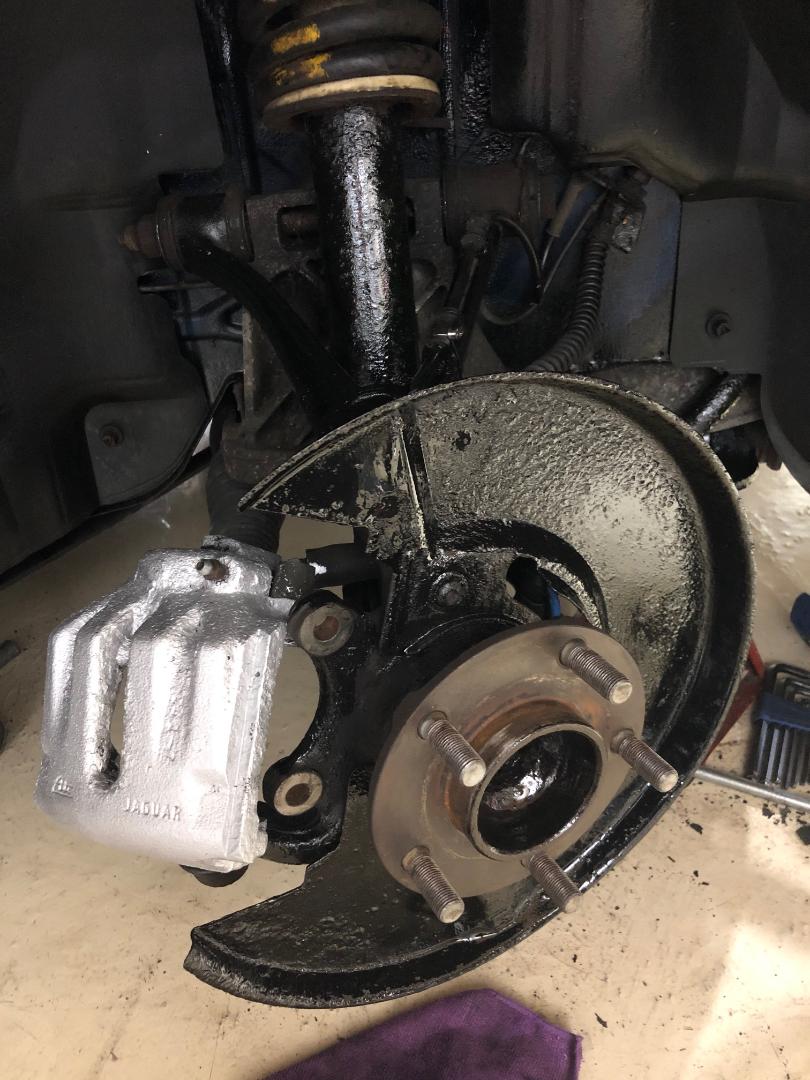
The caliper bolts were also extremely tight. The breaker bar that I used even bent like a banana. Luckily I had an older, stronger one. Turning the steering and getting to a pry point from the back did the trick eventually. Again, the discs were quite corroded but much banging and cursing later they came off.
I had learned from doing the back discs and the caliper carrier had seen better days, so the people at British Car Parts supplied me with new carriers, discs and pads at a very good price. Less cleaning up for me.
It all went back together OK, but then I had to take the ABS sensor to bits and extend the wires to re-solder them in place. The same for the earth wire too. I guess that, as the subframe is rubber mounted, you need a decent earth point for the hub assembly.
The other job whilst there was some minor welding on the front lip of the sill. There is an area below the wheel arch liner which is perfect for catching mud and water etc., so this area on the right-hand side of the car was in need of some minor repair.
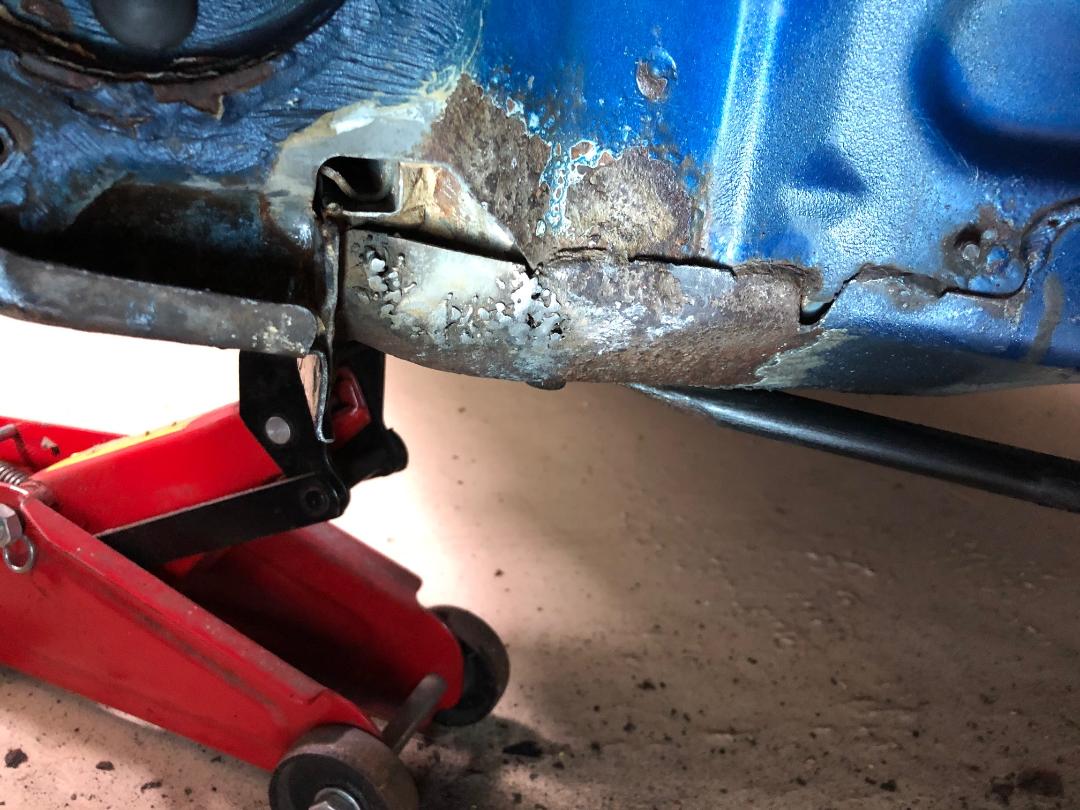 I had a MIG welder which I had left unused for years, and I had got rid of the gas bottle years ago because it was costing a fortune to rent. So, some gas-free welding wire was used. I found this is more inclined to splatter than when using gas, but it did the job.
I found that one side of the wheel arch is different to the other and the right-hand side has a large amount of sealant over a cavity. I dug out the old sealant and replaced it with Tiger Seal. This is wonderful stuff; it sticks like you-know-what to a blanket and stays flexible. You can use it as a glue as well as a sealant.
Once all was repaired, I used POR15 paint and Dinitrol wax all over the inner arch, to protect it for years to come. Dinitrol is good for surface covering and for squirting down cavities as well; there are a few rubber bungs that you can remove to do this job once the wheel arch liner is removed.
While I was there, I found some extra areas under the car that needed POR15. It is worth looking at the extra flap of metal which is on all XK8s behind the front wheel on either side and near the sill. It’s left over from the manufacturing jigs and a carryover from the XJS, I believe. Both of mine needed resealing and one side was worse where water had got under the skin of underseal. Again de-rust, POR15, wax and then seal up so not more muck can get in.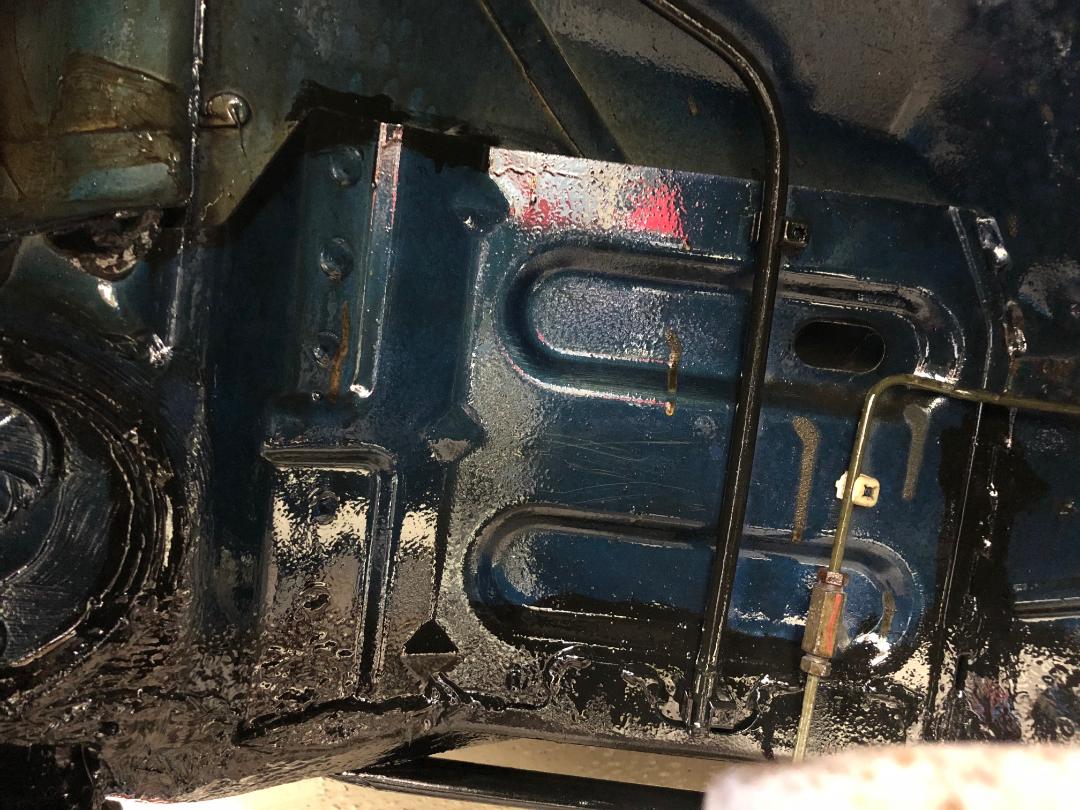
That was the front brakes done. Don’t forget to remove excess brake fluid when you push back the pistons, to aid fitting new pads. Oops…
Russell Smedley