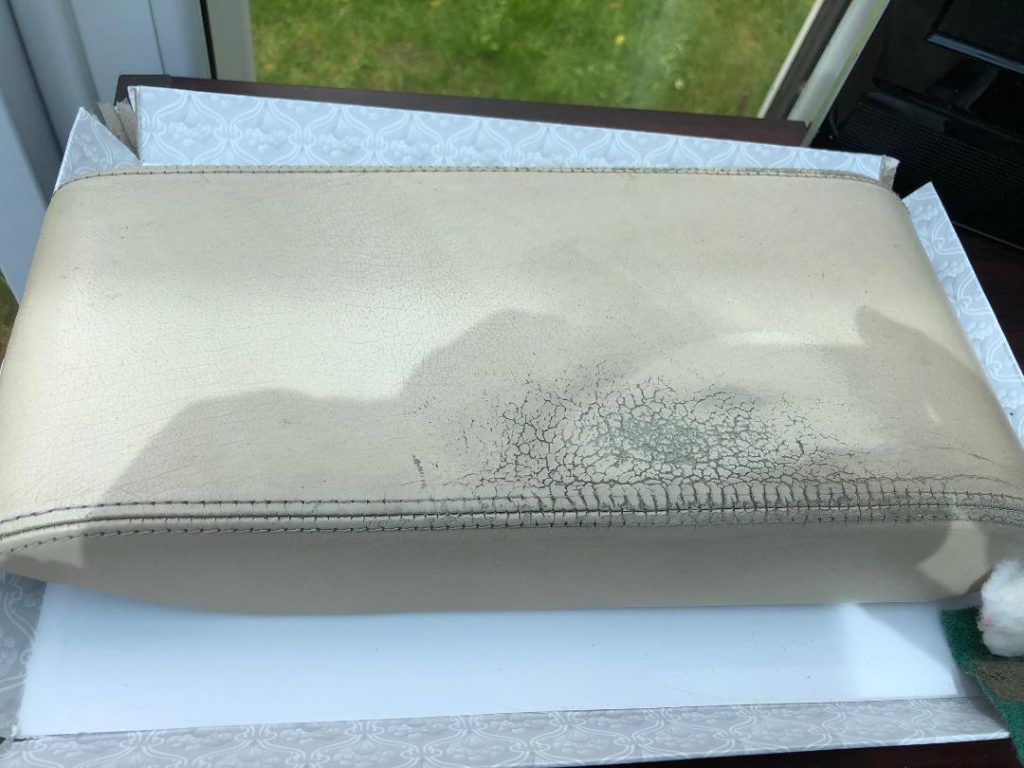
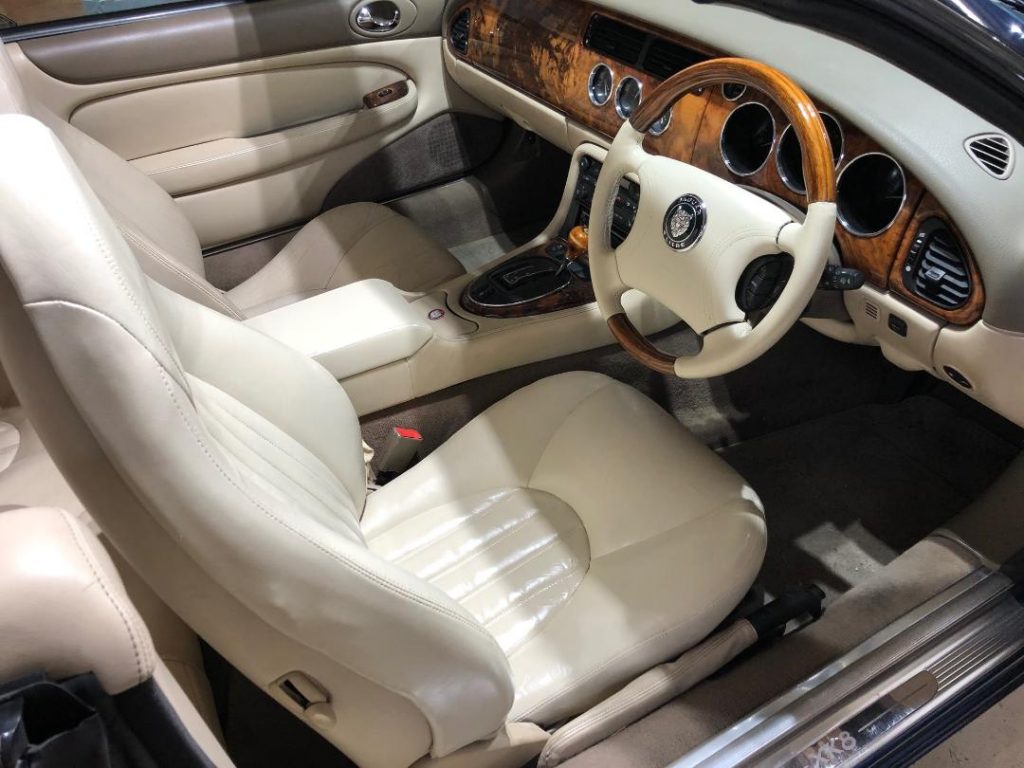
I have been doing more work on my XK8, improving the state of the leather and changing interior bulbs to LEDs. I refurbished the driver’s seat and door armrest, but the centre armrest was probably the worst in terms of wear.
I had bought a kit from Furniture Clinic who have been featured in the national magazine. Once I found the colour of the trim they were able to match it from their records and sent a kit to suit.
The process is fairly simple; start by making it worse! You need leather prep which is a solvent that takes off the old layers of protection (lacquer in effect) including the colour dye or paint or, if you prefer, base coat. This takes the leather back to its true colour which is a sort of dirty beige.
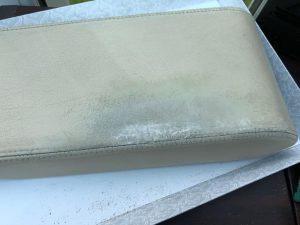 You don’t have to get rid of all the base coat, just most of the damaged area. It’s best to use the scouring pad supplied but you could probably use the green rough ones you get for washing up.
So the cracks and creases you see are mainly in the old paint and when this is removed, the creases get less. You should then wipe the area over with alcohol that is supplied. Any deep folds or worn areas can be filled with the flexible filler and, when dry, rubbed down with fine wet and dry paper used dry.
It’s easy to shape the filler initially with small spatula supplied. The filler can be used after or before the first coats of colour as you may be able to see extra areas that need attention. The wet and dry will also smooth out any rough bits on the leather. I also used this to fill a tear in the seat once I had glued a small repair patch behind the tear.
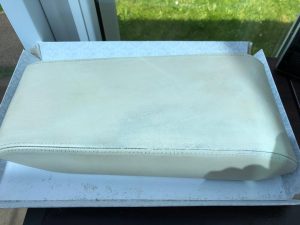 Once you are satisfied with the surface, sponge on the dye or paint in light coats until the colour is built up enough to appear even. Take your time. Drying the paint can be sped up with your better half’s hairdryer unless you have your own, of course. Or you can just wait approximately 15 minutes between each coat.
When you are happy with the colour, then it’s time to apply the clear lacquer, available in semi- gloss or satin. I used semi-gloss as I thought it may be easier to keep high wear areas clean. The lacquer is sprayed on, as that gives a better finish. I had a small airbrush which works off my baby compressor, sold for about £60 on eBay, as used by nail salons and tanning booths, allegedly. You can also use a can of propellant and a cheap airbrush as supplied by Furniture Clinic.
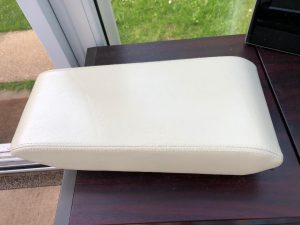 Once you have done a few coats, the colour is sealed in; any dirt and subsequent cleaning is only on the clear coat, so the colour won’t change or get worn away.
Once fully cured you can treat the leather as normal with cleaning and leather feeding product.
The nightime pictures show the car with new LEDs fitted into the interior and door lights.
I bought a pack of 8 LEDs from Amazon as a direct replacement for the push-fit standard bulbs. Like most LEDs, they are white and bright so, at night, it’s like Southend seafront before Covid-19 instead of gloomy.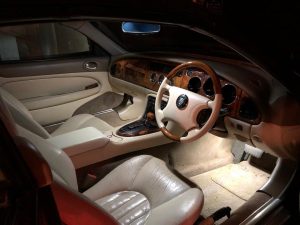
The plastic light covers are all just snap fits and can be pried out carefully, other than the top map lights for which the whole assembly pops out as it’s retained by metal clips.
The LED bulbs were a bit longer than the old bulbs, so didn’t fit fully in some areas. For instance in the map reading lights they just sit in the void and are not clipped back in place, but this is not a problem as, once re-fitted, they cannot go anywhere and run cooler than the standard bulb so will not darken or scorch the plastic.
I also fitted a festoon LED in the boot which again makes a massive difference in low light conditions.
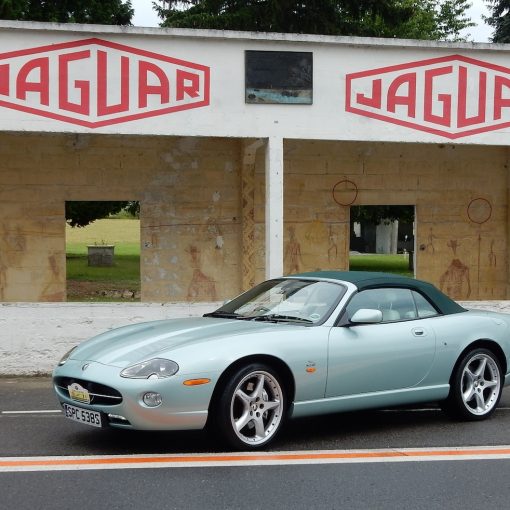
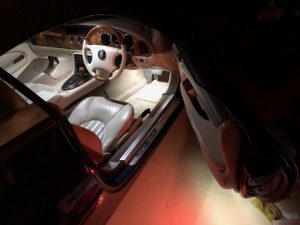 You can see in the LED photo that the seat was only just started being re coloured; the final seat is in the daytime photo below.
Russell Smedley


