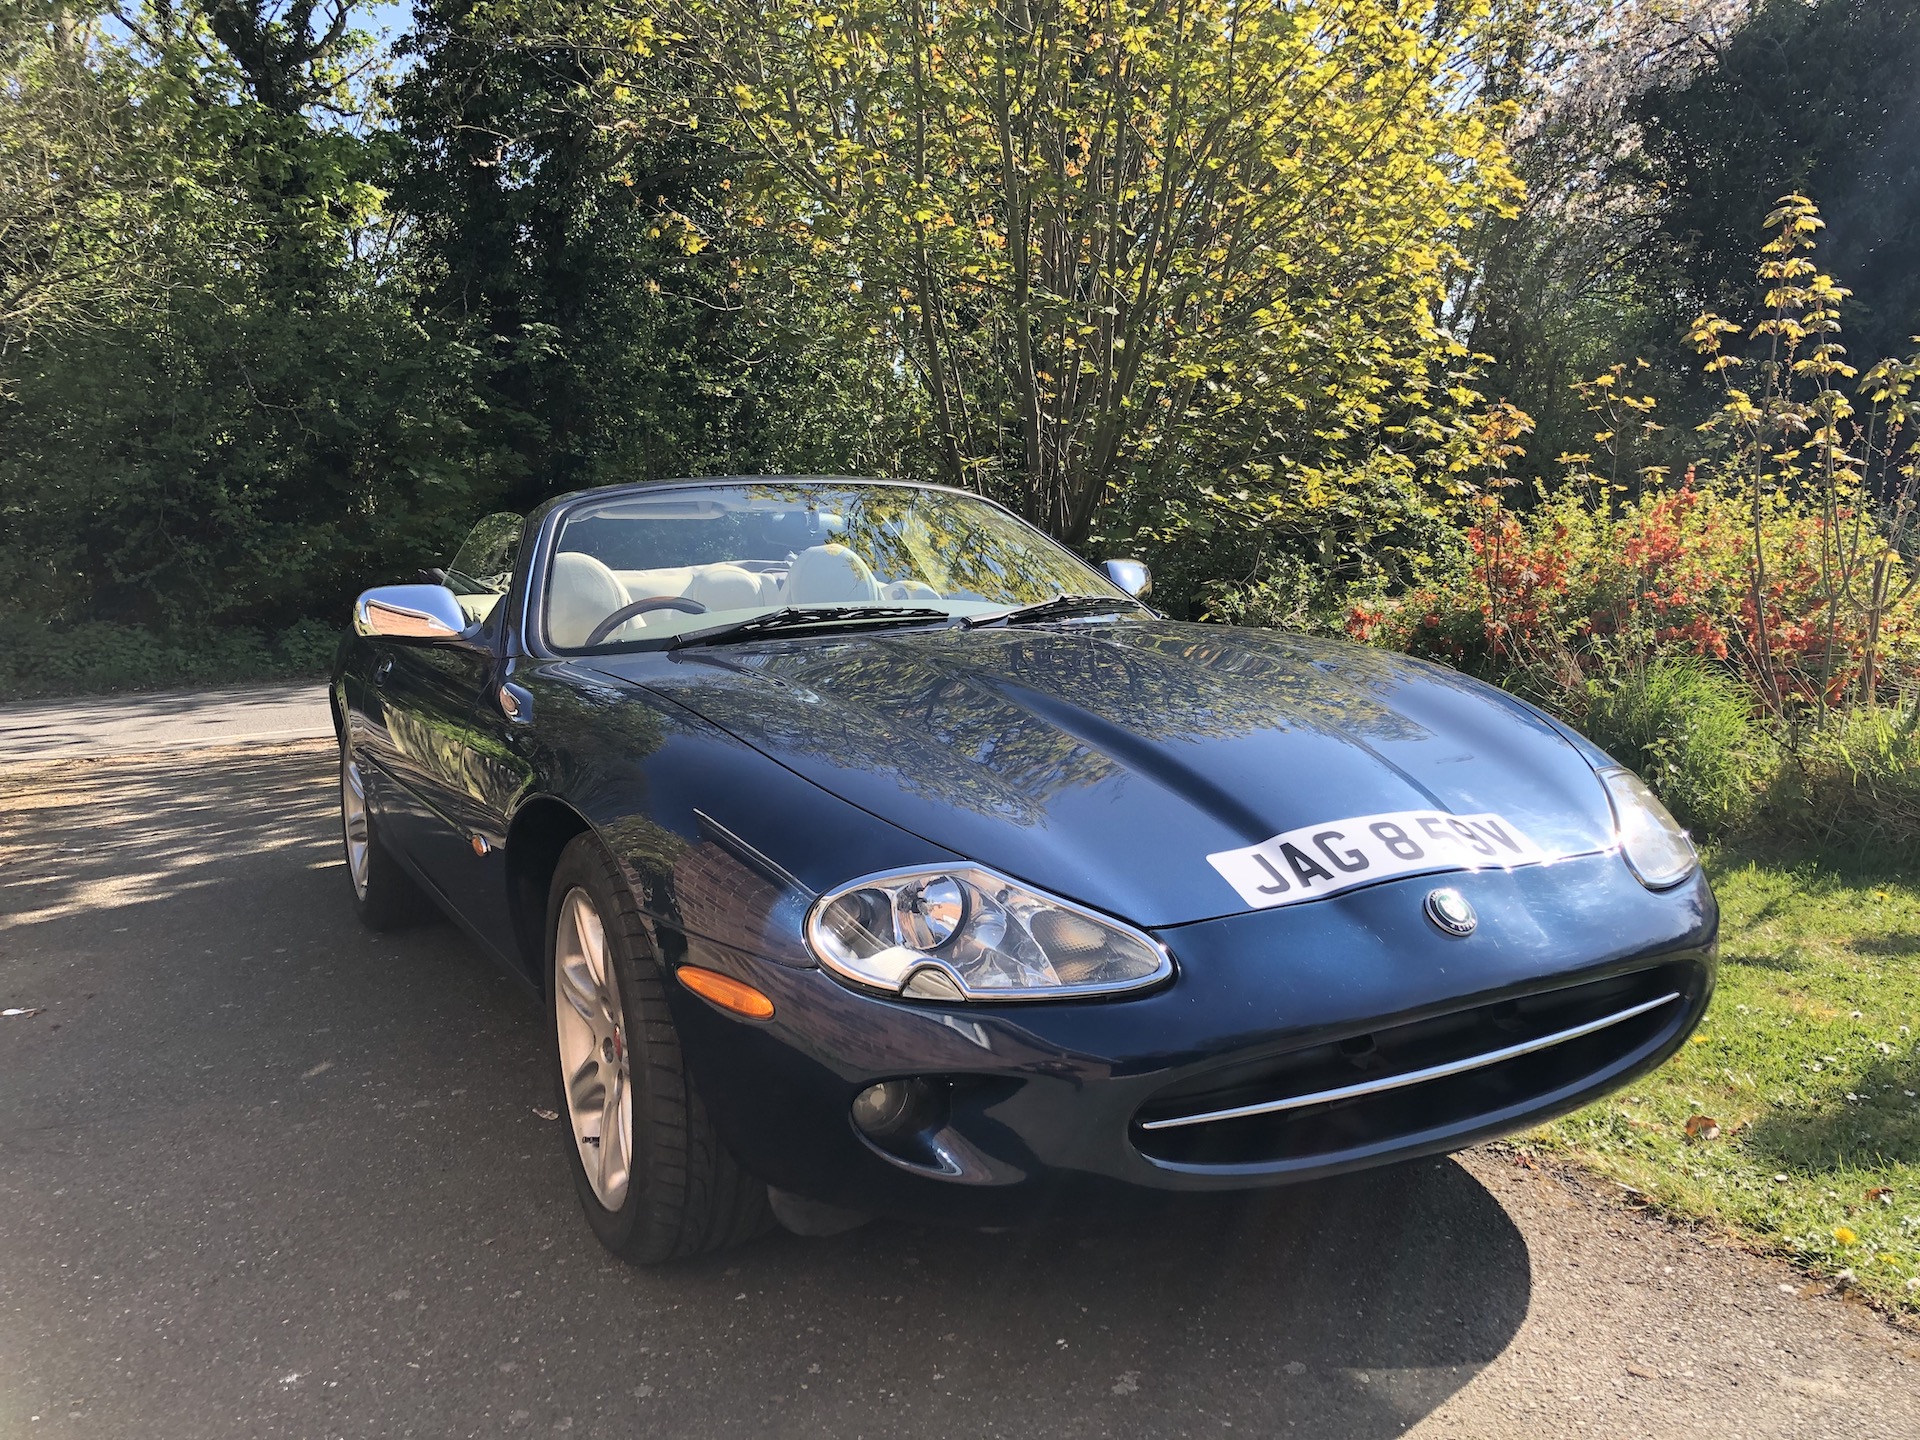
Having bought an older XK8 convertible from 1998, there were a few jobs to do to it. The brakes have never been as good as they should be, so I decided to change the rear brakes as they looked to be in the worse condition. I sourced the parts from British Car Parts they were just standard ones with EBC pads.
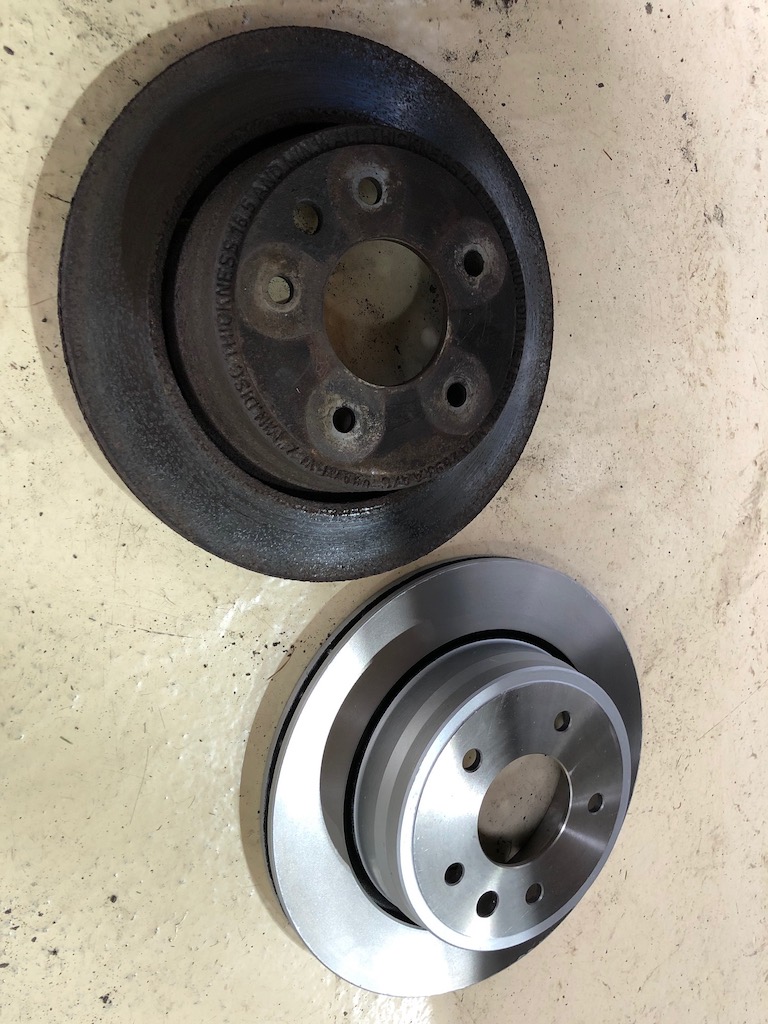
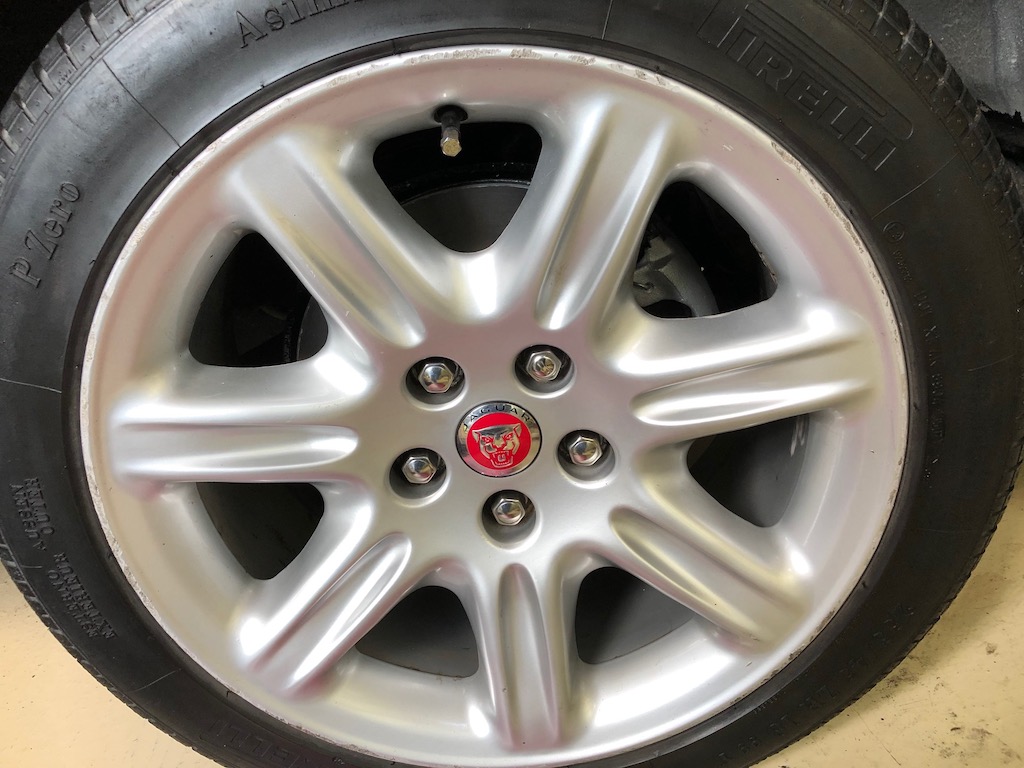
My first job was to paint the centre section and rim of the disc with silver caliper paint so they would not suffer the same fate as the originals by going rusty. I thought that the easiest part of the job would be taking the rear wheels off but no, this was harder than I’d envisaged.
First, the locking wheel nut cover would not come off. After lots of WD40 and tugging on the plastic tool it was eventually freed. A tip I’ve now learned is to use the same wheel nut socket on the nut cover which will loosen it if rusted and then use the plastic removal tool. This is true for XJs as well. I have had to buy a spare tool as the original one broke, such was the stubbornness of the cover in coming off.
Next, the wheel nuts. Again, I think corrosion made these hard to come off. But this was as nothing compared with the wheel itself; expecting the wheel could then be removed easily, I was amazed at how well it was stuck even with no nuts in place. Lots of hammering, kicking and cursing at the wheel made no difference; it was well and truly stuck.
So, I let the car off the jack to see if the weight of the car would help loosen it. No luck. In the end, it took more WD40 and a looonng pry bar between the wheel and suspension joint to lever it off, turning the wheel at every go so that it came off straight.
The next job was fairly easy, taking off the brake caliper. Not too bad, just a little corrosion that was easy to overcome. So, I thought, the disc should come off now?
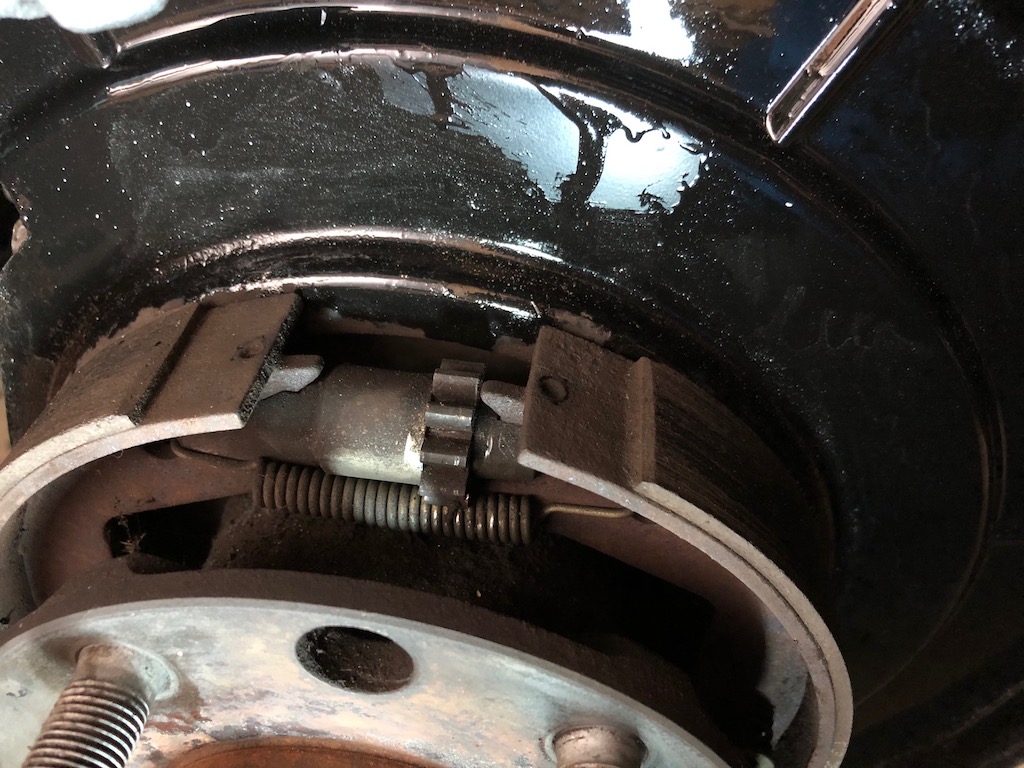
First, I needed to slacken off the hand brake shoes. This was done by lining up the extra hole in the disc at approximately 12 o’clock and using a screwdriver to turn the cog a bit at a time to wind the shoes away from the inner disc hub.
Once again, good old rust was holding the disc in place. Lots of WD40 and a heavy mallet eventually freed it off, turning the disc from side to side so that it didn’t jam.
The next job was to clean up the rusty bits as best I could and paint it with POR15 (Paint Over Rust 15). This is a brilliant anti-rust paint that dries as hard as a rock and is such a good barrier that no oxygen can get through and so no more rust will form. I painted the disc cover and caliper bolts.
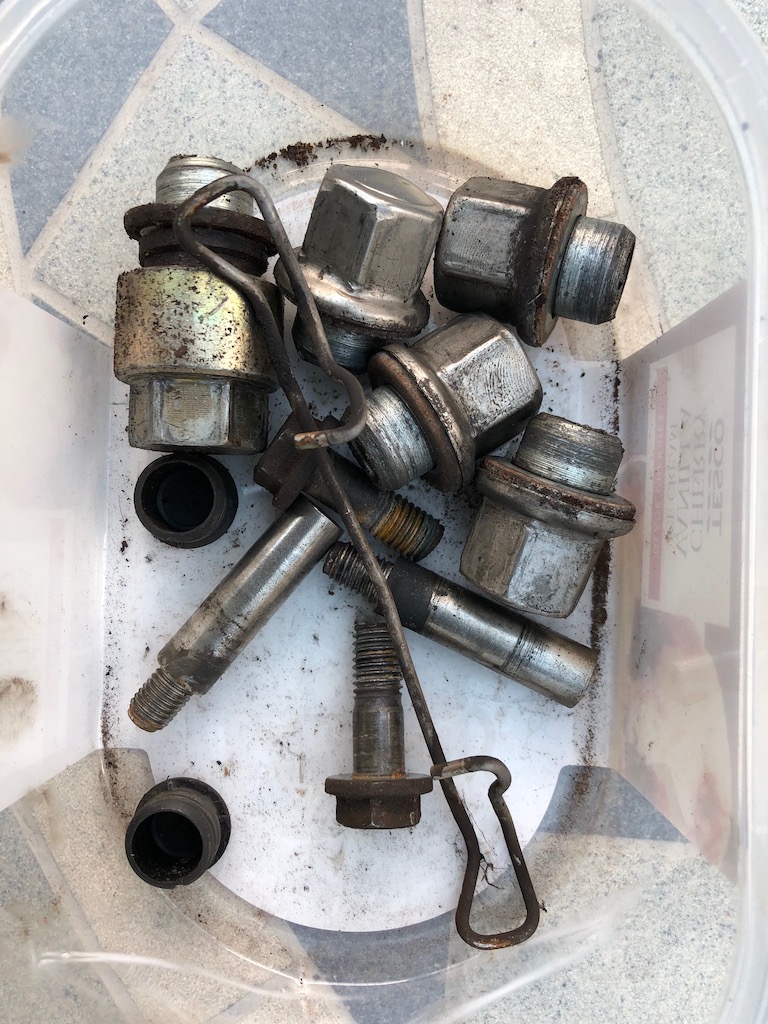
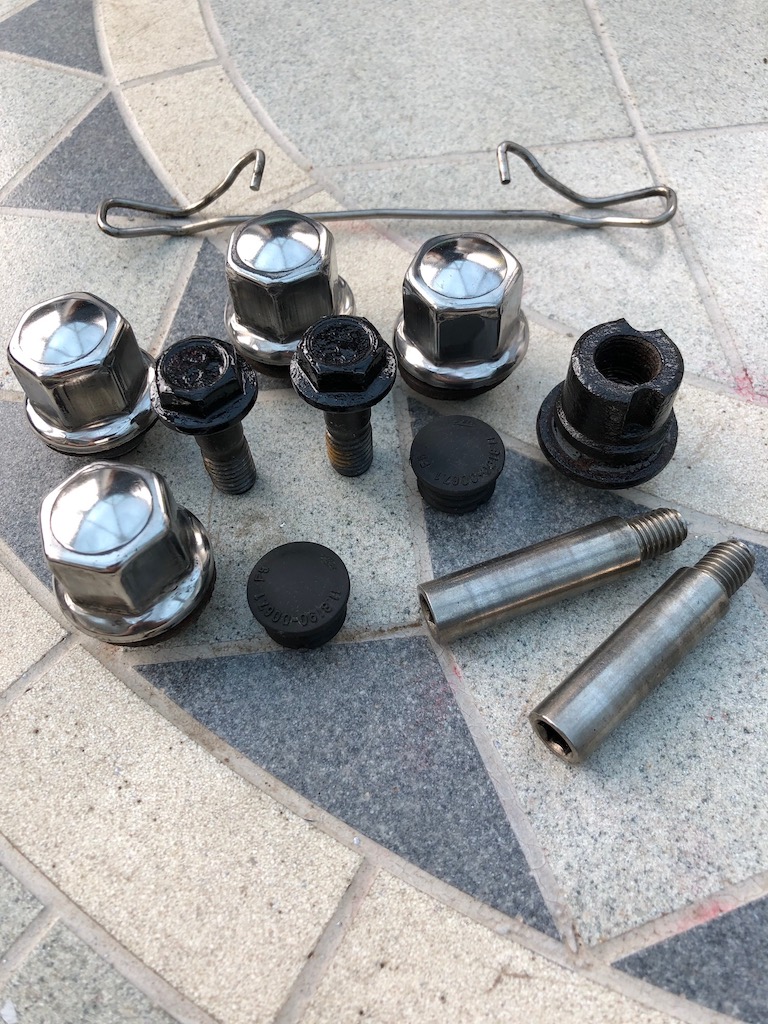
I polished up my stainless nuts, which is always fun with a bench mounted mop and paste.
The caliper anti-rattle spring is also stainless and comes up like new.
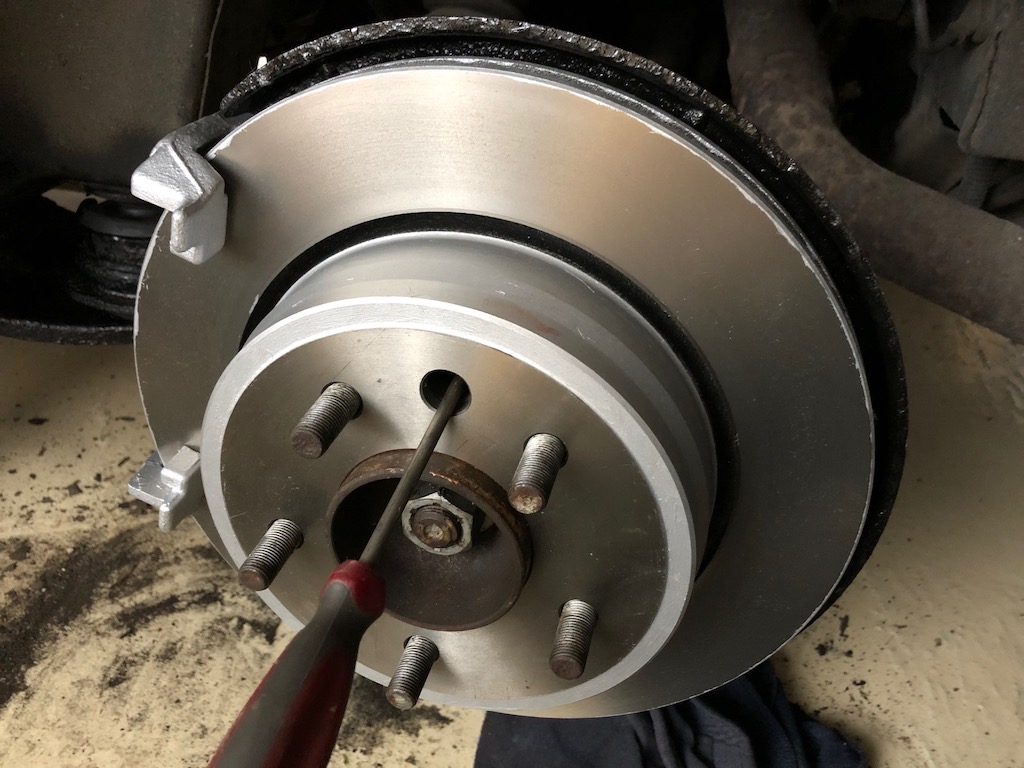
Time to reassemble. The disc went on first, remembering to line up the handbrake hole with the hole in the hub, and using plenty of copper grease to prevent more rusting when back in place.
I cleaned up the caliper mount and caliper and painted them with POR caliper silver. Once the caliper mount was on, I adjusted the handbrake shoes with the cog and screwdriver until the disc locked and then just backed it off until the disc turned without dragging.
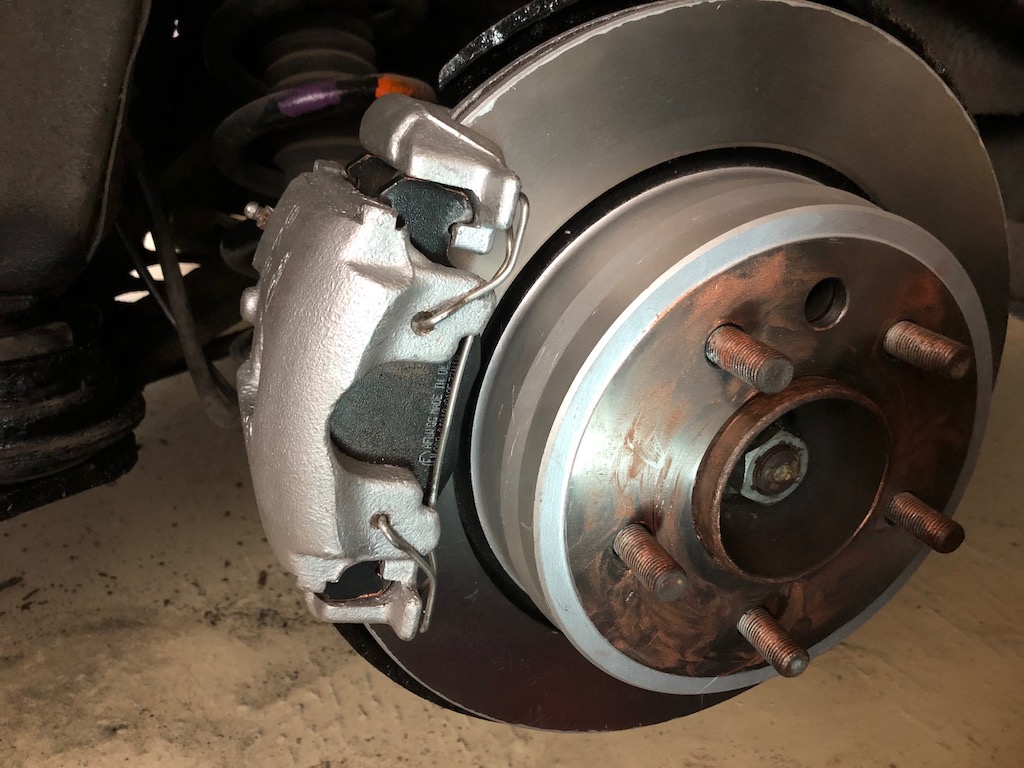
Then the caliper went back on with new pads and copper grease in the moving parts and on the back of the pads. Getting the anti-rattle spring back on was a pain, but levering with a screwdriver and pliers got the job done. I also cleaned up around the piston and used some rubber grease on the seal of the caliper.
After cleaning up the wheel, and again using plenty of copper grease, it went on easily and was tightened with my polished nuts.
One more wheel on the other side to do, but the good news is that the second one always seems to go faster and more easily after having all the right tools and tricks to hand.
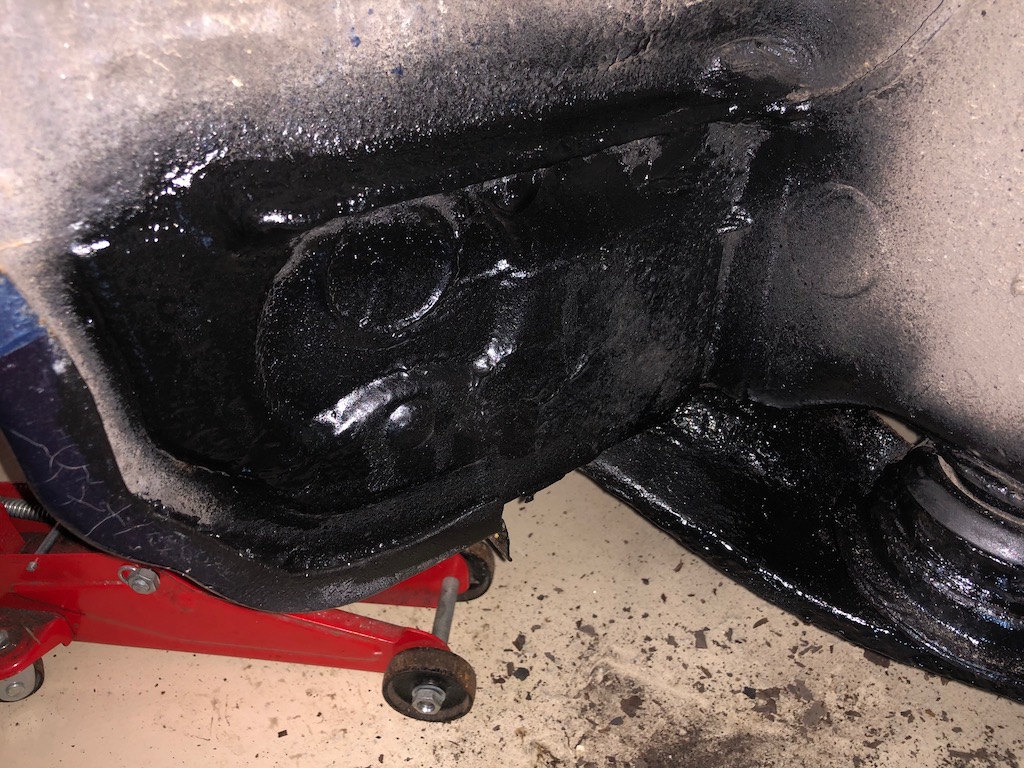
Whilst the wheels were off, I also took the opportunity to paint the rust-prone areas of the rear sill lip with POR15 and Dinitrol rubber paint.
All done. The only trouble is that now I’m looking at the front wheels, thinking that I need to do them too. Pah.
And the wheels need repainting.
So the list goes on….
Russell Smedley
